Getting Started with Your Karaoke System and Smart TV
Understanding the Basics of a Karaoke System
A karaoke system is a setup that allows individuals to sing along to instrumental tracks of their favorite songs. It typically consists of a microphone, audio input/output, and a display screen for viewing lyrics. The appeal of karaoke lies in its ability to provide an interactive and entertaining experience for gatherings and parties.
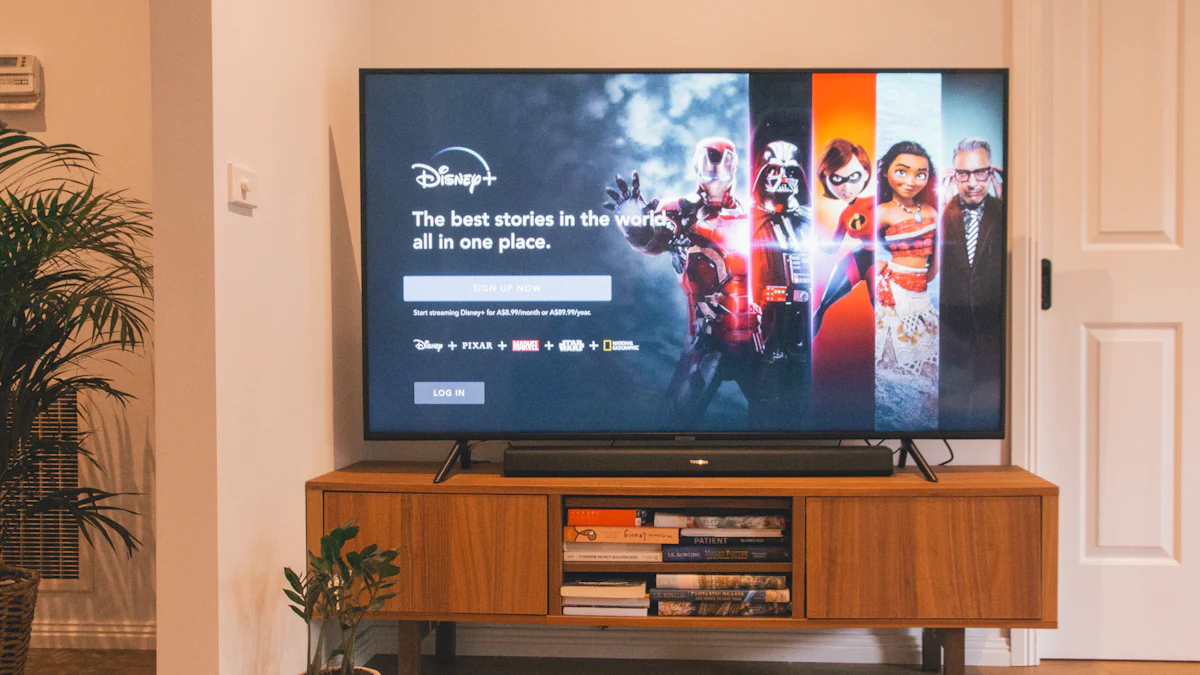
Using a smart TV for karaoke offers several advantages. Firstly, it eliminates the need for a separate display screen as the smart TV can serve as both the monitor for lyrics and the entertainment hub. Additionally, smart TVs often have multiple connectivity options, making it easier to integrate with various karaoke systems.
Preparing Your Space
When setting up your karaoke system, choosing the right location is crucial. Select an area with ample space for movement and seating arrangements. Ensure that there are no obstructions between the performers and the smart TV to allow for clear visibility of the lyrics.
Before diving into the setup process, make sure you have all the necessary equipment on hand. This includes the karaoke machine or system, microphones, cables, and any additional accessories such as sound mixers or amplifiers if required.
Choosing the Right Microphone for Your Karaoke System
When it comes to setting up a karaoke system, selecting the microphone that best suits your needs is essential for an enjoyable singing experience. There are various types of microphones available, each with its own set of features and advantages.
Types of Microphones
Wired vs. Wireless Microphones
One of the primary considerations when choosing a microphone is whether to opt for a wired or wireless model. Wired microphones are known for their reliability and consistent sound quality. They are also typically more affordable than their wireless counterparts. On the other hand, wireless microphones offer greater freedom of movement, making them ideal for energetic performances where mobility is key.
Microphone Features to Look For
When exploring microphone options, it’s important to consider specific features that can enhance your karaoke experience. Look for microphones with noise-canceling capabilities to minimize background interference and ensure clear vocal reproduction. Additionally, consider models with ergonomic designs that provide comfort during extended use, especially if you anticipate long singing sessions.
Setting Up Your Microphone with the Karaoke System
Connecting the Microphone to the System
Once you’ve chosen the ideal microphone for your karaoke setup, it’s time to connect it to the karaoke system. If using a wired microphone, simply plug it into the designated input on the karaoke machine or audio interface. For wireless microphones, follow the manufacturer’s instructions for pairing and connecting them to the system wirelessly.
Adjusting Microphone Settings for Optimal Sound
To ensure optimal sound quality during your karaoke sessions, take advantage of any built-in settings on your microphone or karaoke system. Adjust parameters such as gain levels, which control the sensitivity of the microphone, and equalization (EQ) settings to tailor the sound output based on individual preferences.
In addition to these technical adjustments, it’s important to position the microphone at an appropriate distance from the performer’s mouth to achieve balanced audio levels without distortion.
Connecting Your Karaoke System to Your Smart TV
Now that you have your karaoke system and microphone set up, it’s time to connect everything to your smart TV. This step is crucial for displaying the lyrics and ensuring that the audio is seamlessly integrated with the visuals.
Step-by-Step Connection Guide
Identifying your smart TV’s input options
Begin by identifying the available input options on your smart TV. Most modern smart TVs come equipped with a variety of input ports, including HDMI, USB, and audio jacks. Check the user manual or specifications of your smart TV to determine which input options are available for connecting external devices.
Once you’ve identified the input options, take note of their locations on the TV. This will help you select the appropriate cables and adapters for connecting your karaoke system.
Choosing the right cables and adapters
When connecting your karaoke system to your smart TV, it’s essential to use the right cables and adapters for seamless integration. If your karaoke system utilizes HDMI output, ensure that your smart TV has an available HDMI input port. Use a high-quality HDMI cable to establish a reliable connection between the two devices.
For older karaoke systems or TVs without HDMI support, consider using RCA or composite cables to connect the audio and video outputs of the karaoke system to corresponding inputs on the smart TV. Additionally, if your karaoke system requires power, make sure it is conveniently located near an electrical outlet to avoid cable clutter and tripping hazards.
Troubleshooting Common Connection Issues
No sound from the TV
If you encounter issues with no sound coming from your smart TV when using the karaoke system, there are several troubleshooting steps you can take. Start by checking the volume settings on both the karaoke system and the smart TV. Ensure that all connected cables are securely plugged in and that any external speakers or sound systems are properly configured.
If using HDMI connections, verify that both devices recognize each other by accessing the input settings on your smart TV. In some cases, adjusting audio output settings within the karaoke system’s menu may be necessary to direct sound through the connected smart TV.
Video not displaying correctly
In instances where the video output from your karaoke system does not display correctly on your smart TV, begin by confirming that all video cables are firmly connected at both ends. Check for any signs of damage or wear on the cables that may affect signal transmission.
If using HDMI connections, ensure that both devices support compatible video resolutions and refresh rates. Accessing display settings within your smart TV’s menu can help adjust visual parameters such as aspect ratio and screen mirroring options for optimal compatibility with your karaoke system.
Tips and Tricks for a Successful Karaoke Night
Hosting a successful karaoke night involves more than just setting up the equipment. It’s about creating an engaging and enjoyable experience for everyone involved. Here are some tips and tricks to elevate your karaoke event and ensure a memorable time for all.
Creating the Perfect Song Playlist
Selecting Songs for All Ages
When curating your karaoke playlist, consider the diverse age groups that may be present at your event. Include a mix of classic hits, current chart-toppers, and timeless favorites to cater to varying musical preferences. Incorporating songs from different decades ensures that everyone has an opportunity to sing along to familiar tunes, fostering a sense of inclusivity and enjoyment for all generations.
Organizing Your Playlist for Easy Access
Organizing your song selection in a logical manner can streamline the karaoke experience. Group songs by genre, artist, or decade to make it easier for participants to find their favorite tracks. Utilize digital platforms or karaoke software that allows you to create custom playlists and search functionalities, enabling seamless navigation through the song catalog. Additionally, consider incorporating themed segments into your playlist, such as “80s classics” or “power ballads,” to add variety and excitement to the singing lineup.
Enhancing Your Karaoke Experience
Using Lighting and Decorations
Transforming your karaoke space with lighting and decorations can elevate the ambiance and energize the atmosphere. Consider incorporating colorful LED lights or disco balls to create a vibrant stage setting that encourages performers to shine. Dimming overhead lights and utilizing spotlight effects can further enhance the spotlight on singers, adding an element of theatricality to their performances.
In addition to lighting, tastefully selected decorations can contribute to the overall theme of your karaoke night. Whether it’s thematic props related to specific songs or artistic backdrops that complement the music being performed, thoughtful decor adds visual appeal and sets the stage for an immersive karaoke experience.
Encouraging Participation and Fun
Beyond providing a platform for singing, fostering active participation is key to ensuring a lively and enjoyable karaoke night. Encourage audience members to cheer on performers, join in on group sing-alongs, or even participate in impromptu dance sessions during upbeat tracks. Creating an inclusive environment where everyone feels comfortable expressing themselves through music fosters camaraderie and adds an element of spontaneity to the event.
Consider introducing interactive elements such as audience voting for favorite performances or incorporating fun challenges like duet competitions or themed costume contests. These activities not only engage attendees but also infuse an element of friendly competition and lighthearted entertainment into the evening.
Incorporating these tips into your karaoke night planning can turn an ordinary gathering into an unforgettable musical celebration where laughter, camaraderie, and shared moments take center stage.
Wrapping Up
As we conclude our guide to setting up a karaoke system through your smart TV, let’s take a moment to review the key takeaways from the process and explore ways to maximize your karaoke experience.
Reviewing Key Takeaways
Recap of the Setup Process
Setting up a karaoke system through your smart TV involves several essential steps. From understanding the basics of a karaoke system to choosing the right microphone and connecting everything seamlessly, each stage contributes to creating an enjoyable and immersive singing experience. By preparing your space, selecting suitable equipment, and establishing connections with your smart TV, you pave the way for memorable karaoke nights filled with music and laughter.
Final Thoughts on Maximizing Your Karaoke Experience
Maximizing your karaoke experience goes beyond technical setup. It encompasses creating an inviting atmosphere, curating engaging song playlists, and encouraging active participation. By incorporating lighting effects, thoughtful decorations, and diverse song selections, you can elevate the ambiance and ensure that everyone feels included in the musical festivities. Embracing interactive elements such as audience voting and themed challenges adds an element of fun and camaraderie to the event, fostering shared moments that resonate long after the music stops.
Encouraging Feedback and Sharing
Sharing Your Karaoke Night Stories
We’d love to hear about your karaoke night experiences! Whether it’s a heartwarming rendition of a classic ballad or a spontaneous dance-off that stole the show, sharing your stories can inspire others and celebrate the joy of communal singing. Feel free to share anecdotes, memorable performances, or unexpected highlights that made your karaoke nights special.
Inviting Readers to Share Tips and Experiences
Karaoke enthusiasts unite! If you have valuable tips, creative ideas, or unforgettable experiences related to hosting or participating in karaoke events, we invite you to join the conversation. Your insights can enrich the collective knowledge base and spark inspiration for future karaoke endeavors. Let’s build a community where passion for music meets creativity in hosting exceptional karaoke gatherings.
As we wrap up our comprehensive guide, remember that every karaoke night is an opportunity to create lasting memories through shared melodies and harmonies. Keep singing, keep sharing, and keep embracing the magic of music!